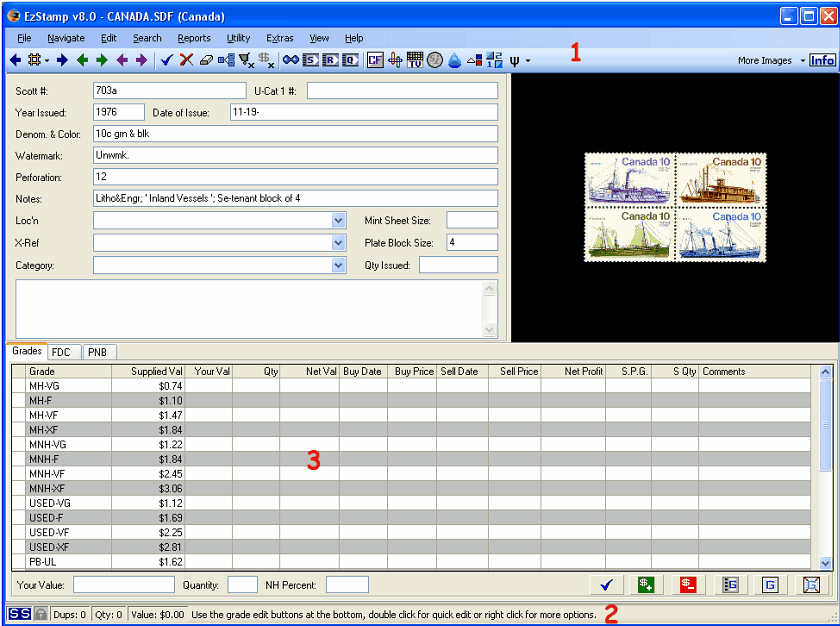
Anatomy of the EzStamp Main Data Entry Screen
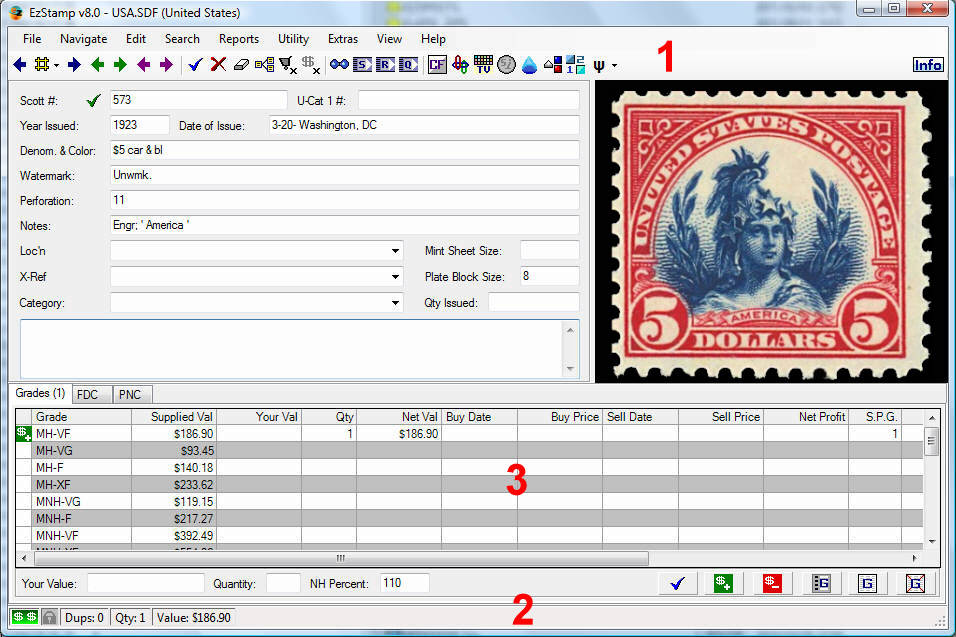
1) Tool Bar: This is where most of the navigation and other controls are located. Blue arrows navigate through the SUPPLIED databases, Green arrows navigate through your inventoried items.
2) Status Bar: This is where helpful hints appear when you hover over any icon. Bottom Right corner of Status Bar will always have an icon to indicate the status of the current record ( inventoried, supplied, custom etc … )
3) Grades & Other Tabs: This is where the bulk of the data entry occurs. Just select the appropriate rows & click on the GREEN $+ to enter or the RED $- to remove a grade entry. FDC ( First Day Cover ), PNC ( Plate Number Coil ) & PNB ( Plate Number Block ) Tabs are also available to enter these items.
RIGHT clicking on any icon or label on the main screen will pop up specific help for that item