How To Make Amazing Scans of your Stamps
We are often asked how we take such great images of our stamps used in EzStamp.
With a few simple hints and the right software , it is easy.
Scanning your stamps, be it for selling on eBay or Hipstamp, your own website or to document your collection, is a critical step that you should not underestimate. Clear, accurate images are extremely important, especially if you are selling stamps. Take the time and scan and prepare them properly & you will be greatly rewarded for the effort.
Here are 5 easy steps to get perfect scans of your stamps
1. Make sure that the bed of the scanner (glass or platen) is CLEAN. I use a lint free cloth, like the ones you use to clean your eyeglasses, lightly soak the cloth in iso-propyl alcohol & wipe down the entire bed of the scanner. This has 2 effects
♦ It makes it perfectly clean
♦ It reduces the static so that stamps do not stick to the lid of the scanner or move when you close the lid
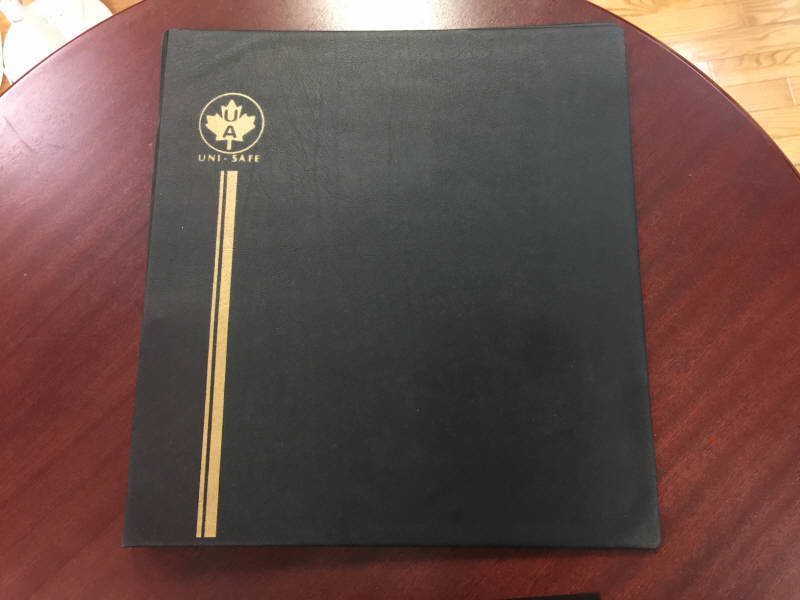
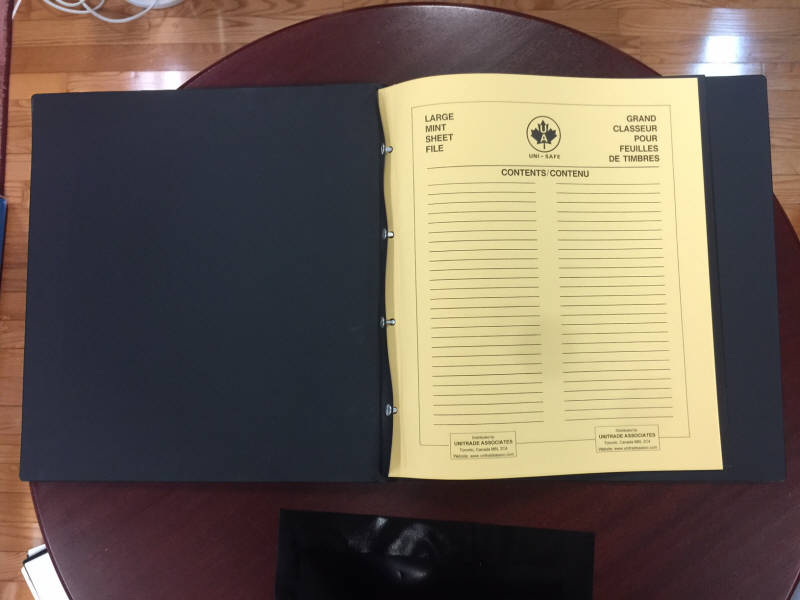
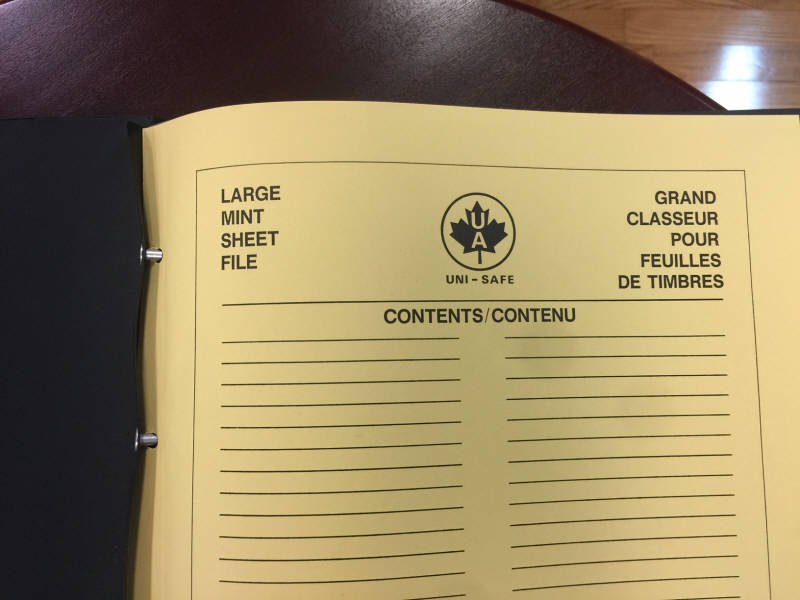
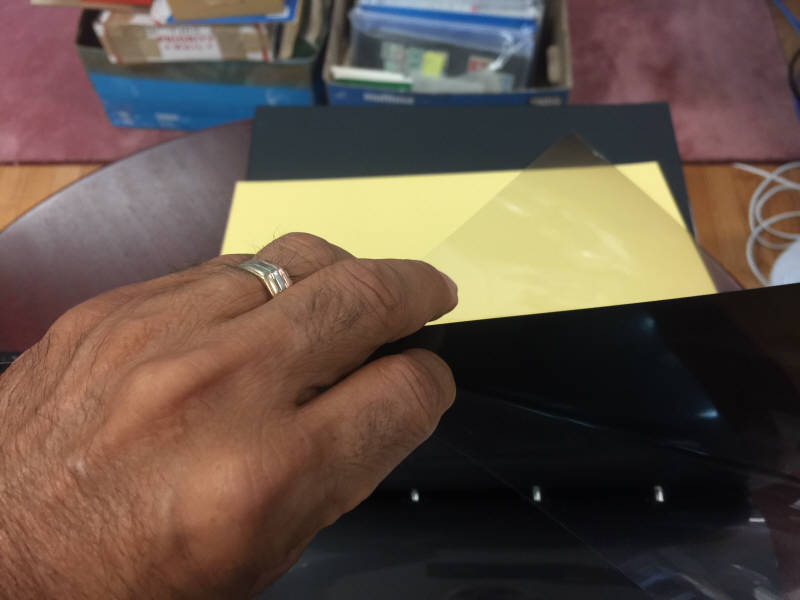
2. Glue a glossy BLACK plastic sheet to the lid of the scanner. This is VERY important so that you get consistently contrasting black backgrounds on your scanner. I take a sheet from a Jumbo Sheet Protector & cut it to size and glue it to the lid. it is removable if need be. They are inexpensive & come in packs of 5 for about $11. I get them from Unitrade Associates . I use the album for my mint sheets & large philatelic items. https://coinstampsupplies.com/product/supersafe-one-pocket-mint-sheet-page/
Here are some pictures of the Mint Sheet Album & what the pages look like
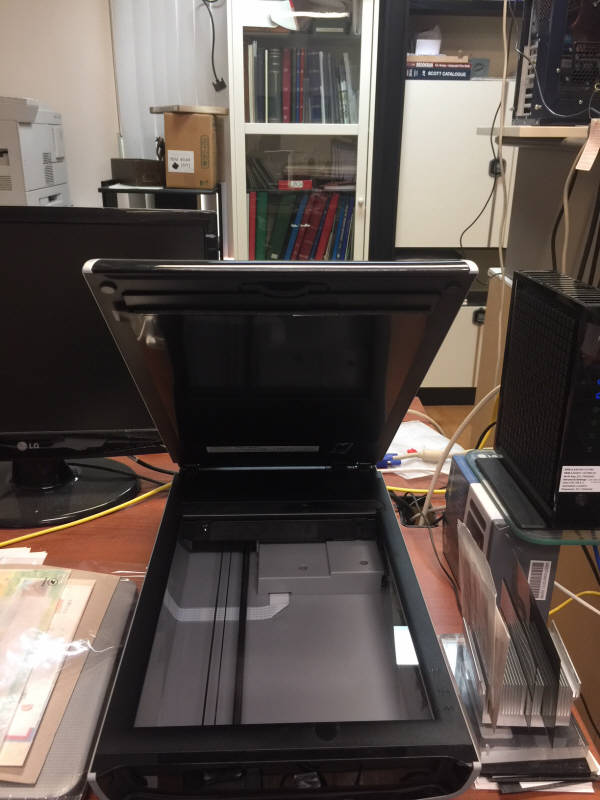
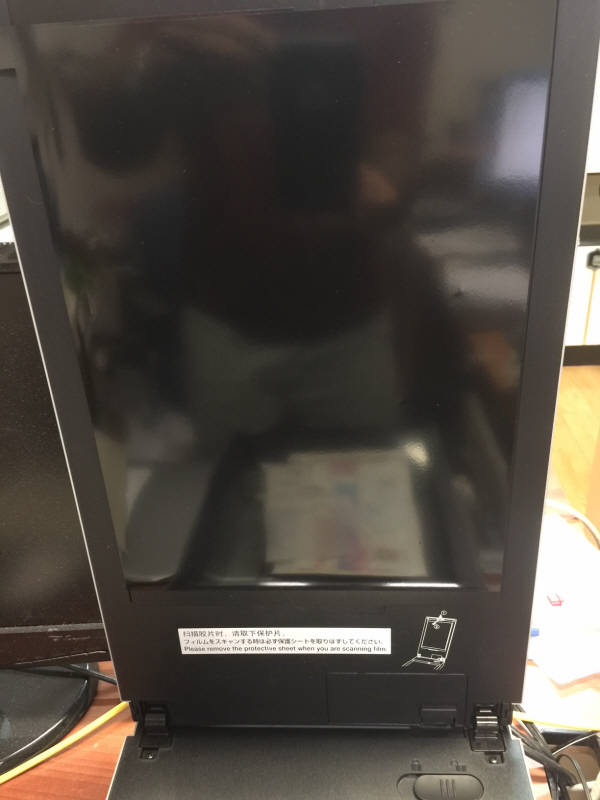
Here are two pictures of how I have set up my scanner so you can see how it looks. My scanner came with a white lid. For 25 years, I have placed black plastic sheets on the lids of all my scanners.
3. Place your stamps directly on the scanner bed. Remove them from mounts if possible. Scanning will NOT harm your stamps and you will get more accurate colours. Save your images in Bmp (bitmap) format. They are larger but will NOT degrade as you edit/modify them. Jpg images are smaller, but they degrade in quality & each time you save them, they get progressively worse. If you need them as jpg, you can make copies from the original bmp images.
4. Close the lid of the scanner when you scan & place a heavy book on the lid to make sure your stamps are flat. You will get MUCH better scans this way.
5. Use Image editing software to prepare your stamps. I use EzImage & have prepared over 880,000 images this way. It is very fast & efficient & was designed specifically with stamps in mind. It can auto-separate, auto-rotate & auto-crop images as well well as clean up the background etc. Make sure your stamps are centered & squared (aligned properly so they are not at an angle). Presentation is everything !
DO NOT use your scanners software to manipulate the image at all. Most scanners software are notoriously bad (that’s why they are free). Use dedicated Image editing software to process & edit your images. Use your scanner to just take the RAW image.
Here are some examples of what your stamps should not look like
Lid not closed, grainy background & curled stamp
Grainy background, out of focus
Grainy background, not straight
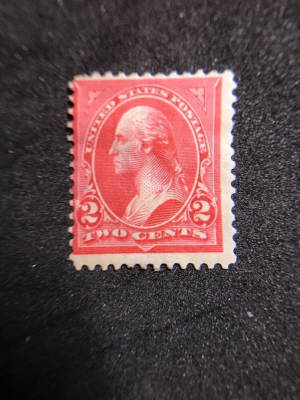
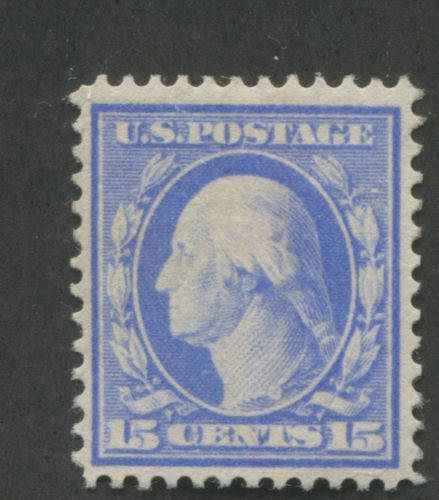
Here is a stamp offered on eBay & here it is after being properly prepared in EzImage. You decide which is better. It only takes seconds. Give your stamps the image they deserve.
Original image
Cleaned & straightened using EzImage