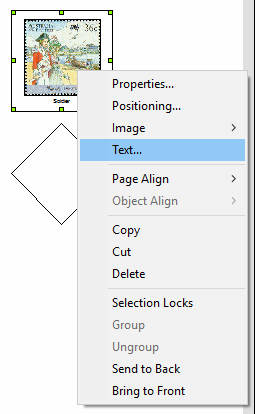
 appropriate property you wish to change. This could be Text, Image, Width or Height(Properties) etc.
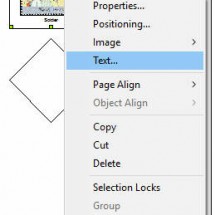
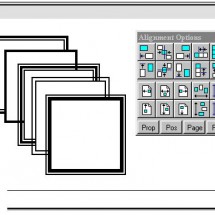
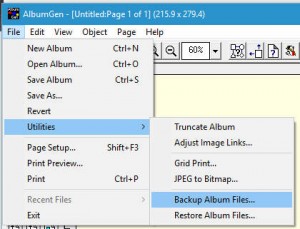
AlbumGen Main Screen
We received this tip from one of our customers[Thank You Larry C.]:
This might be helpful for some of your users. I use 10″x11.5″ paper (a Scott Specialty size) with pre-punched holes and an Epson XP-960 printer. The first pages I printed from AlbumGen printed 5mm too far to the right. After lots of messing with the margins on AlbumGen and a lot of cursing (neither of which fixed the problem), I realized that my printer was sensing the holes. Once I blocked the holes with the sticky part of Post-it Notes, everything printed correctly.
To enable Winhlp to work in Windows 10, follow these simple instructions.
Download the updated Winhlp32 installation files, which are compressed into a zip file (winhlp32-windows-7-10-x86-64.zip) from the following link: winhlp32-windows-7-10-x86-64
Extract the contents of the file you just downloaded (winhlp32-windows-7-10-x86-64.zip)
Run the Install.cmd as Administrator by right-clicking on Install.cmd, then select Run as Administrator.
Acknowledge any privilege warnings and allow Install.cmd to proceed.
That is all there is to it. You now you have Winhlp working in windows 10!
For Windows 8 you need to download and install the 32 bit Help System from Microsoft’s site
WinHlp32
http://www.microsoft.com/en-ca/download/details.aspx?id=35449
For Windows 7 you need to download and install the 32 bit Help System from Microsoft’s site
WinHlp32
http://www.microsoft.com/downloads/details.aspx?FamilyID=258aa5ec-e3d9-4228-8844-008e02b32a2c&displaylang=en
For Vista you need to download and install the 32 bit Help System from Microsoft’s site
WinHlp32
http://www.microsoft.com/downloads/details.aspx?FamilyId=6EBCFAD9-D3F5-4365-8070-334CD175D4BB&displaylang=en
Yes, just go to the Help Menu and select View PDF Manual.
For Older versions of EzImage: click the link below to download the help system as a PDF file. We suggest you place it in the EzImage Folder where you installed the program.